
Although my team and I moved into a real office in 2019, I still use a home office quite frequently. A home office is still useful for catching up on the business side of things on a saturday, the occasional WFH mental health day, and of course doing some gaming with other colleagues in the tech industry on friday nights.
Over the summer, A wall between the office and the main floor bathroom needed to be removed in order to facilitate the install of a new bathtub. I decided to take this opportunity while the wall was removed to do some upgrades to make this office a bit more comfortable.
Anyone who has ever played PC games in an enclosed space can attest to the shockingly high amount of heat that gets generated. This wasn't a problem in the winter, but in the summer it would get unbearably hot in there making it something that simply wasn't an option for a few months of the year.
To fix this issue, I would install the computer in the basement directly below the office and run cables through the floor to my desk. The monitor would be mounted directly on the wall, and the keyboard/mouse would be connected wirelessly to a receiver hidden out of view. Now all of that excess heat would be dissipated in a large open basement instead of a small enclosed room.
I wanted it to be as easy as possible to run cables from the office to the PC in the basement, so I constructed a makeshift conduit out of ABS pipe. A 1.5 inch hole was cut into the studs between the basement and the main floor and the ABS pipe was secured above it using steel strapping. The bottom of ABS pipe was fitted to a 2 inch end piece to prevent it from falling through the hole in the floor.
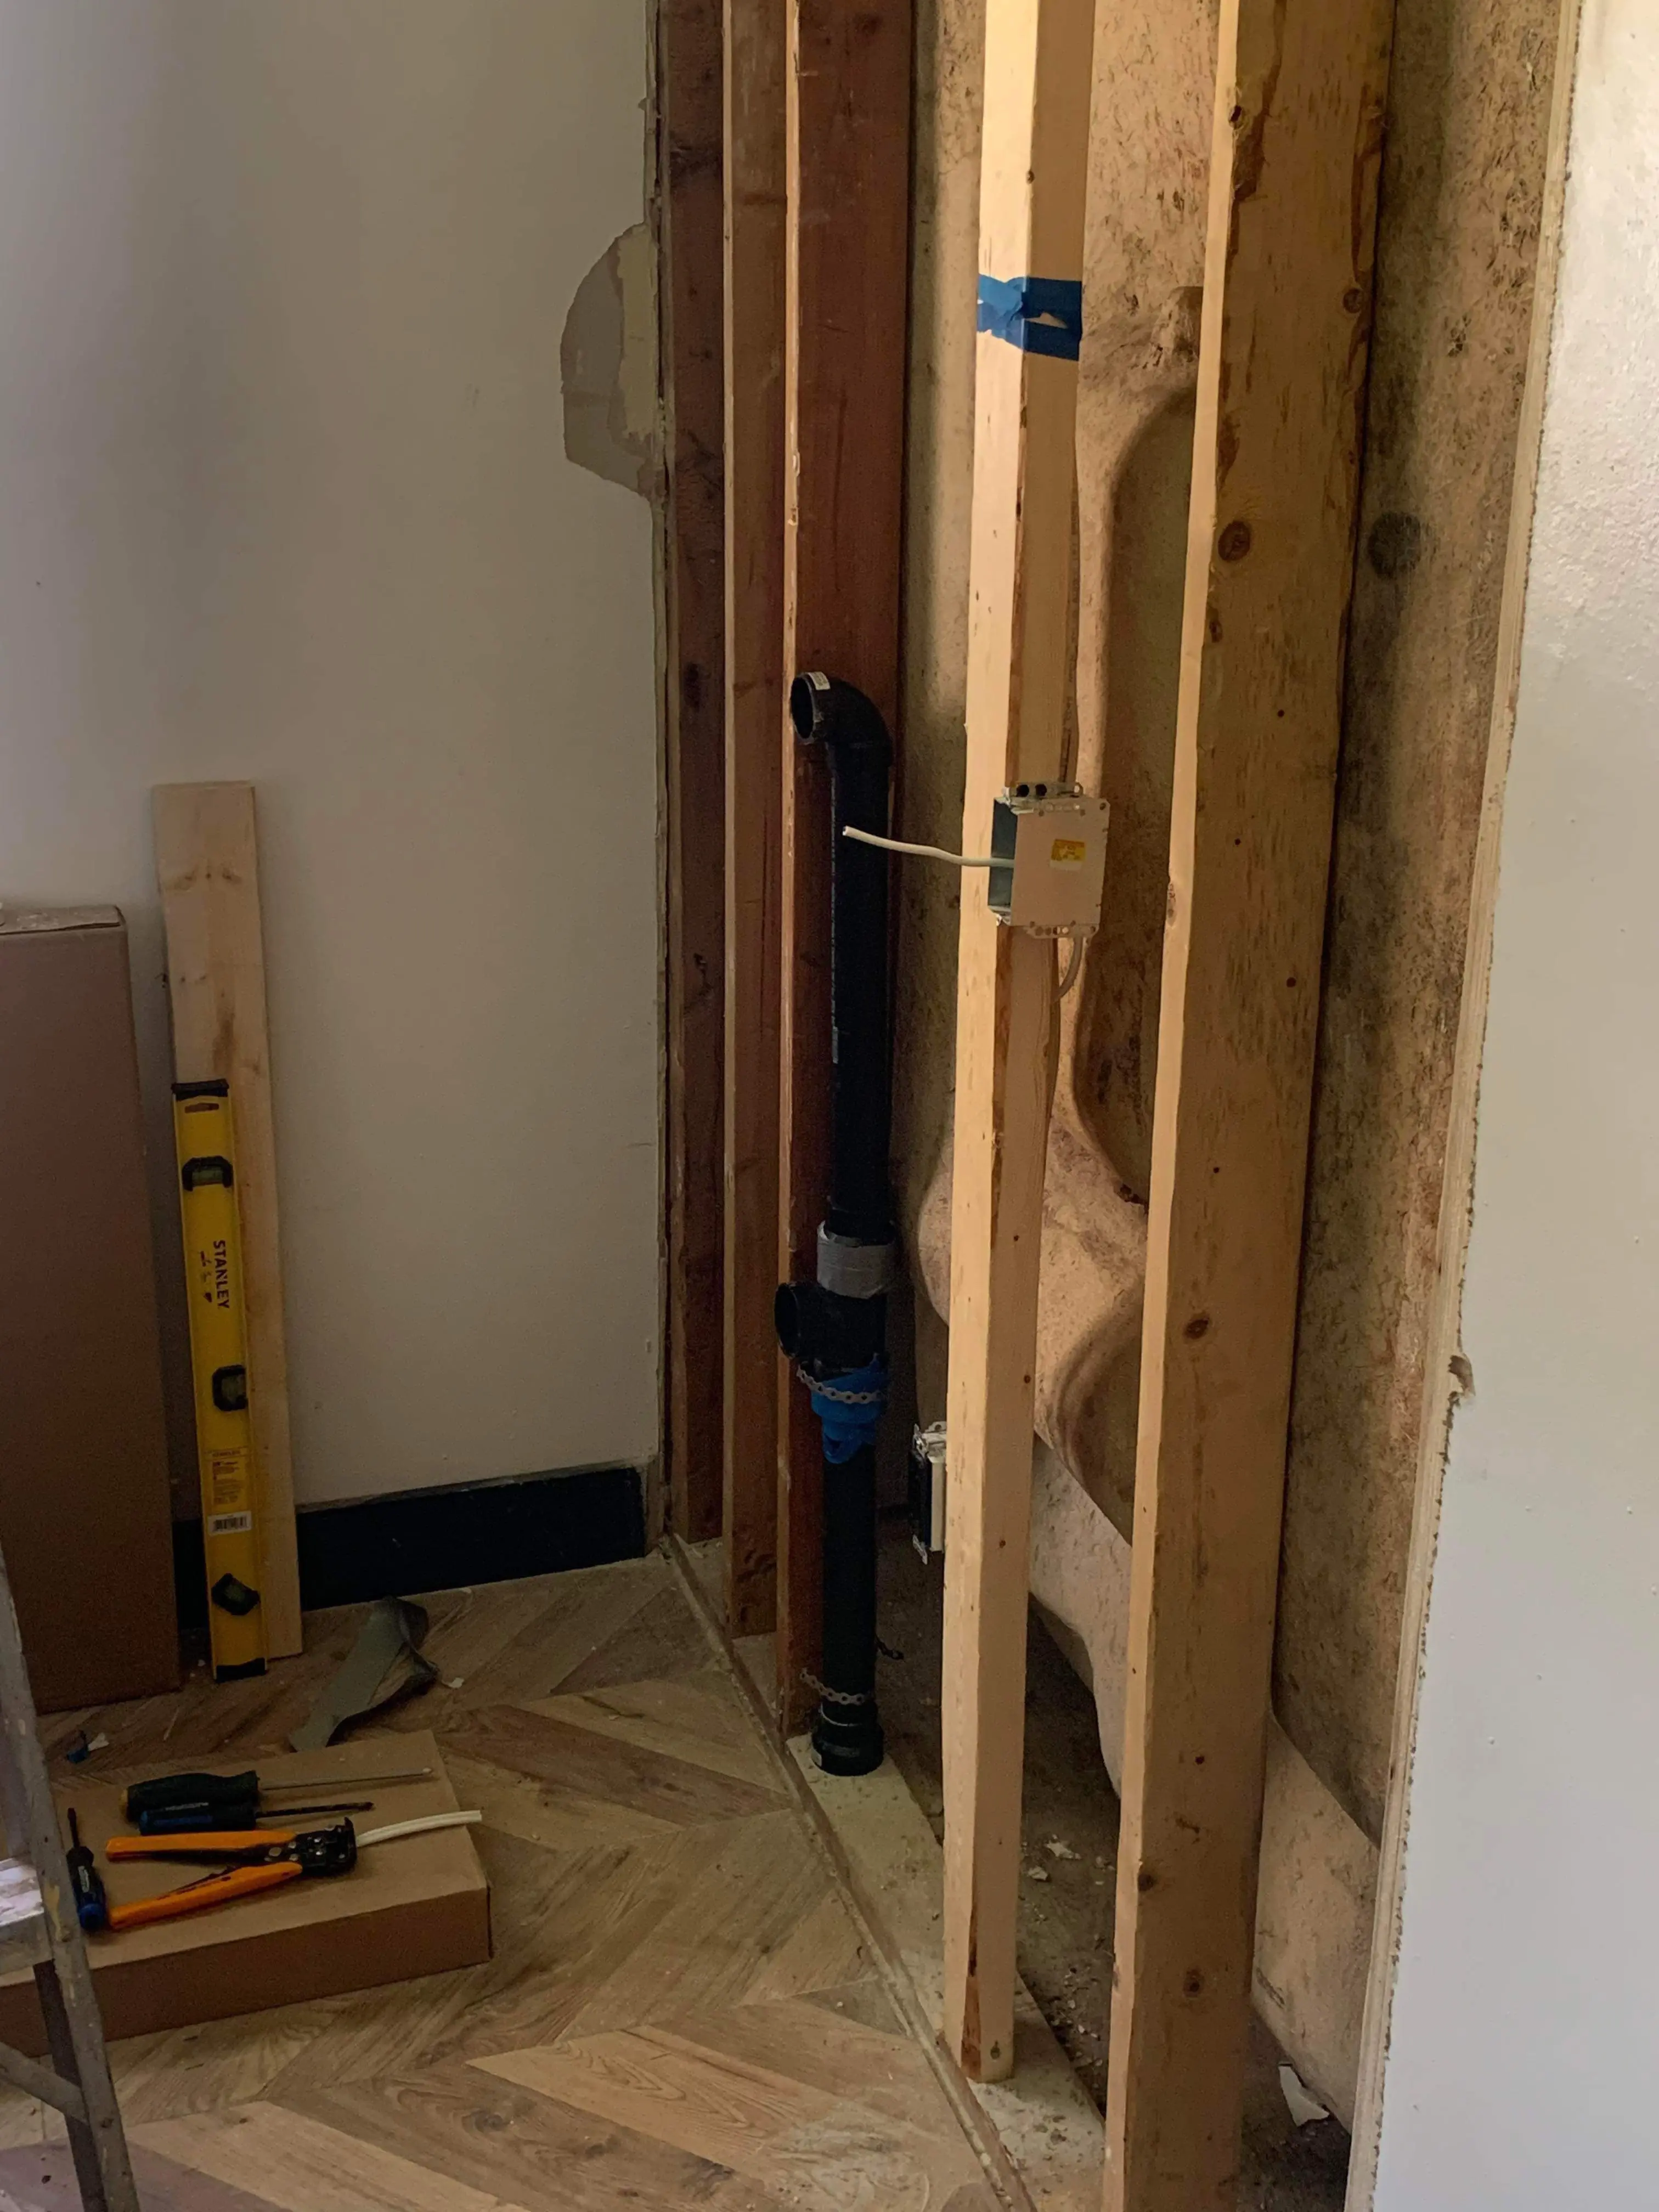
The ABS I was using was 1.5 inch in circumfrence, but this seemed like it might end up being a bit tight to get cables to fit through. To solve this, I used a 2 inch sanitary Tee to allow you to get your fingers in there a bit easier to grab any cables fed through. Since these pipes were just for low voltage cables, I simply connected them with duct tape.
Since the HDMI and USB cables would be ran out of sight through the wall, I wanted the same for power cables. I had an additional outlet installed with recessed plugs so that the power cable could remain put of sight behind the monitor.
Repairing the wall ended up being a long and annoying process. The replacement drywall did not align perfectly with the old, so I ended up having to perform multiple extra coats to get things to look perfect. If I were to do this again I would remove the entire wall instead of just a small portion.
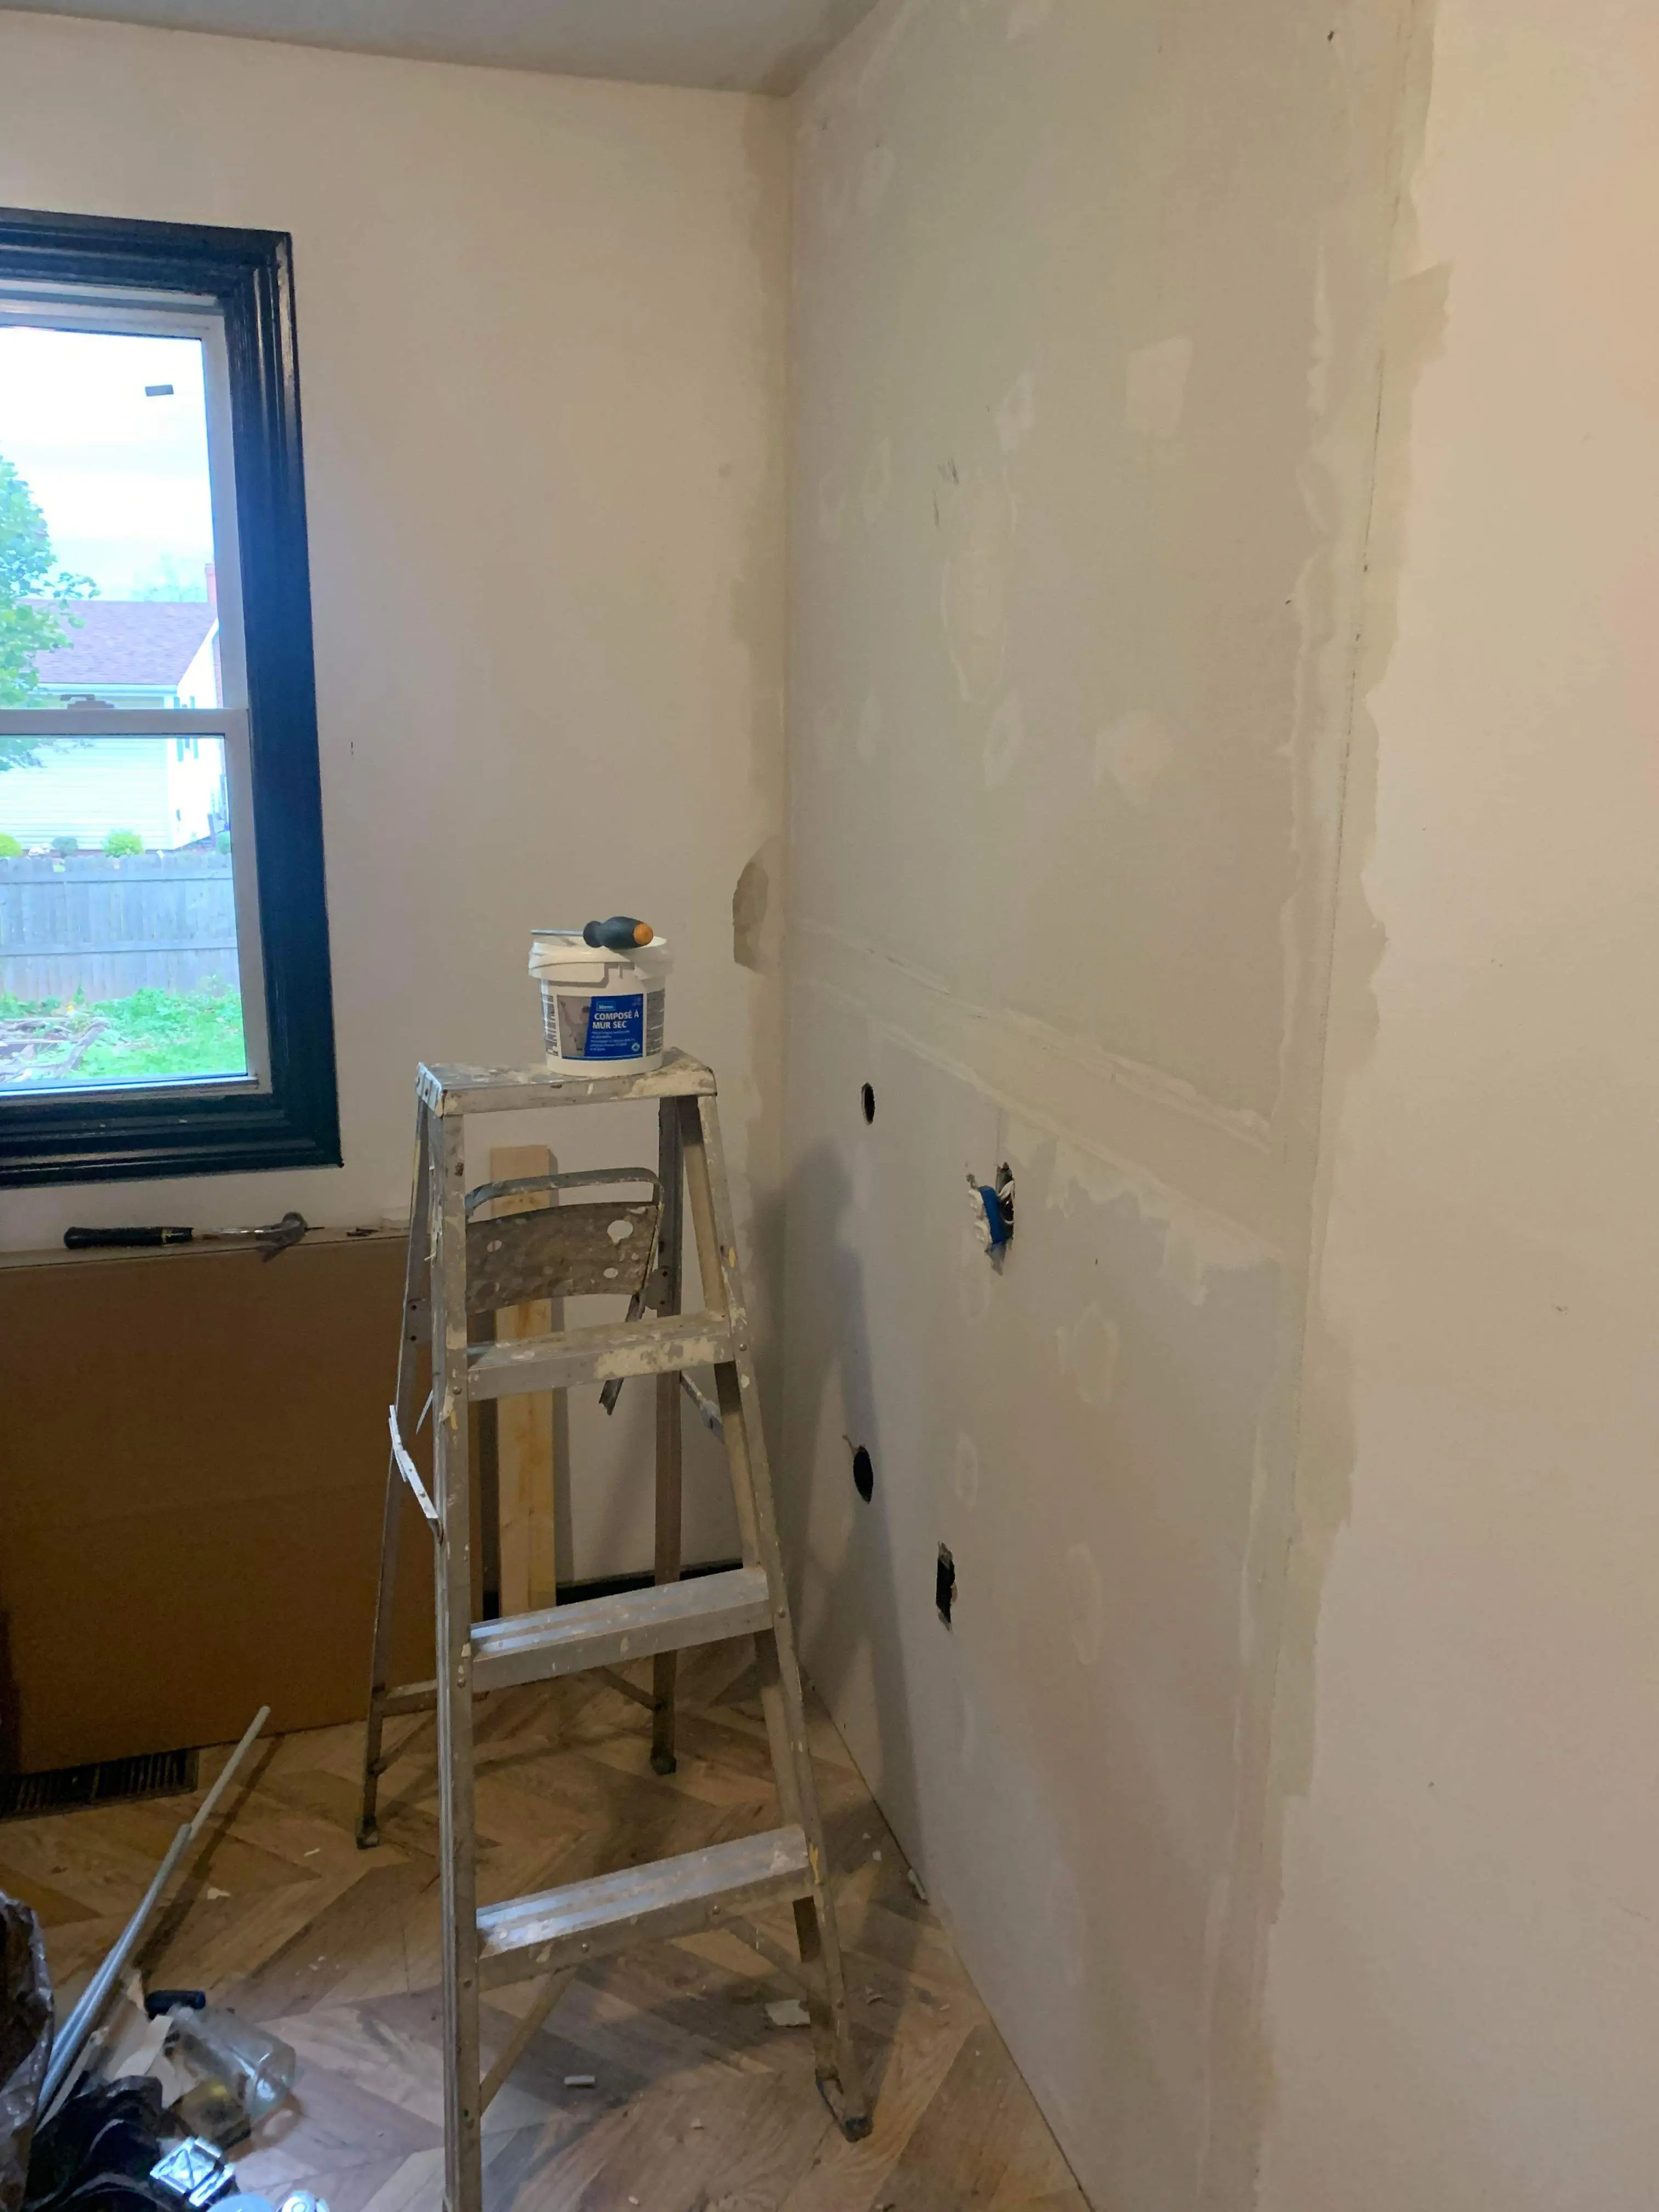
After coat one, things were looking pretty rough. This was definitely going to take at least 4 coats, if not more, to get looking acceptable. The drywall on the attached wall was also damaged and would require some additional repair
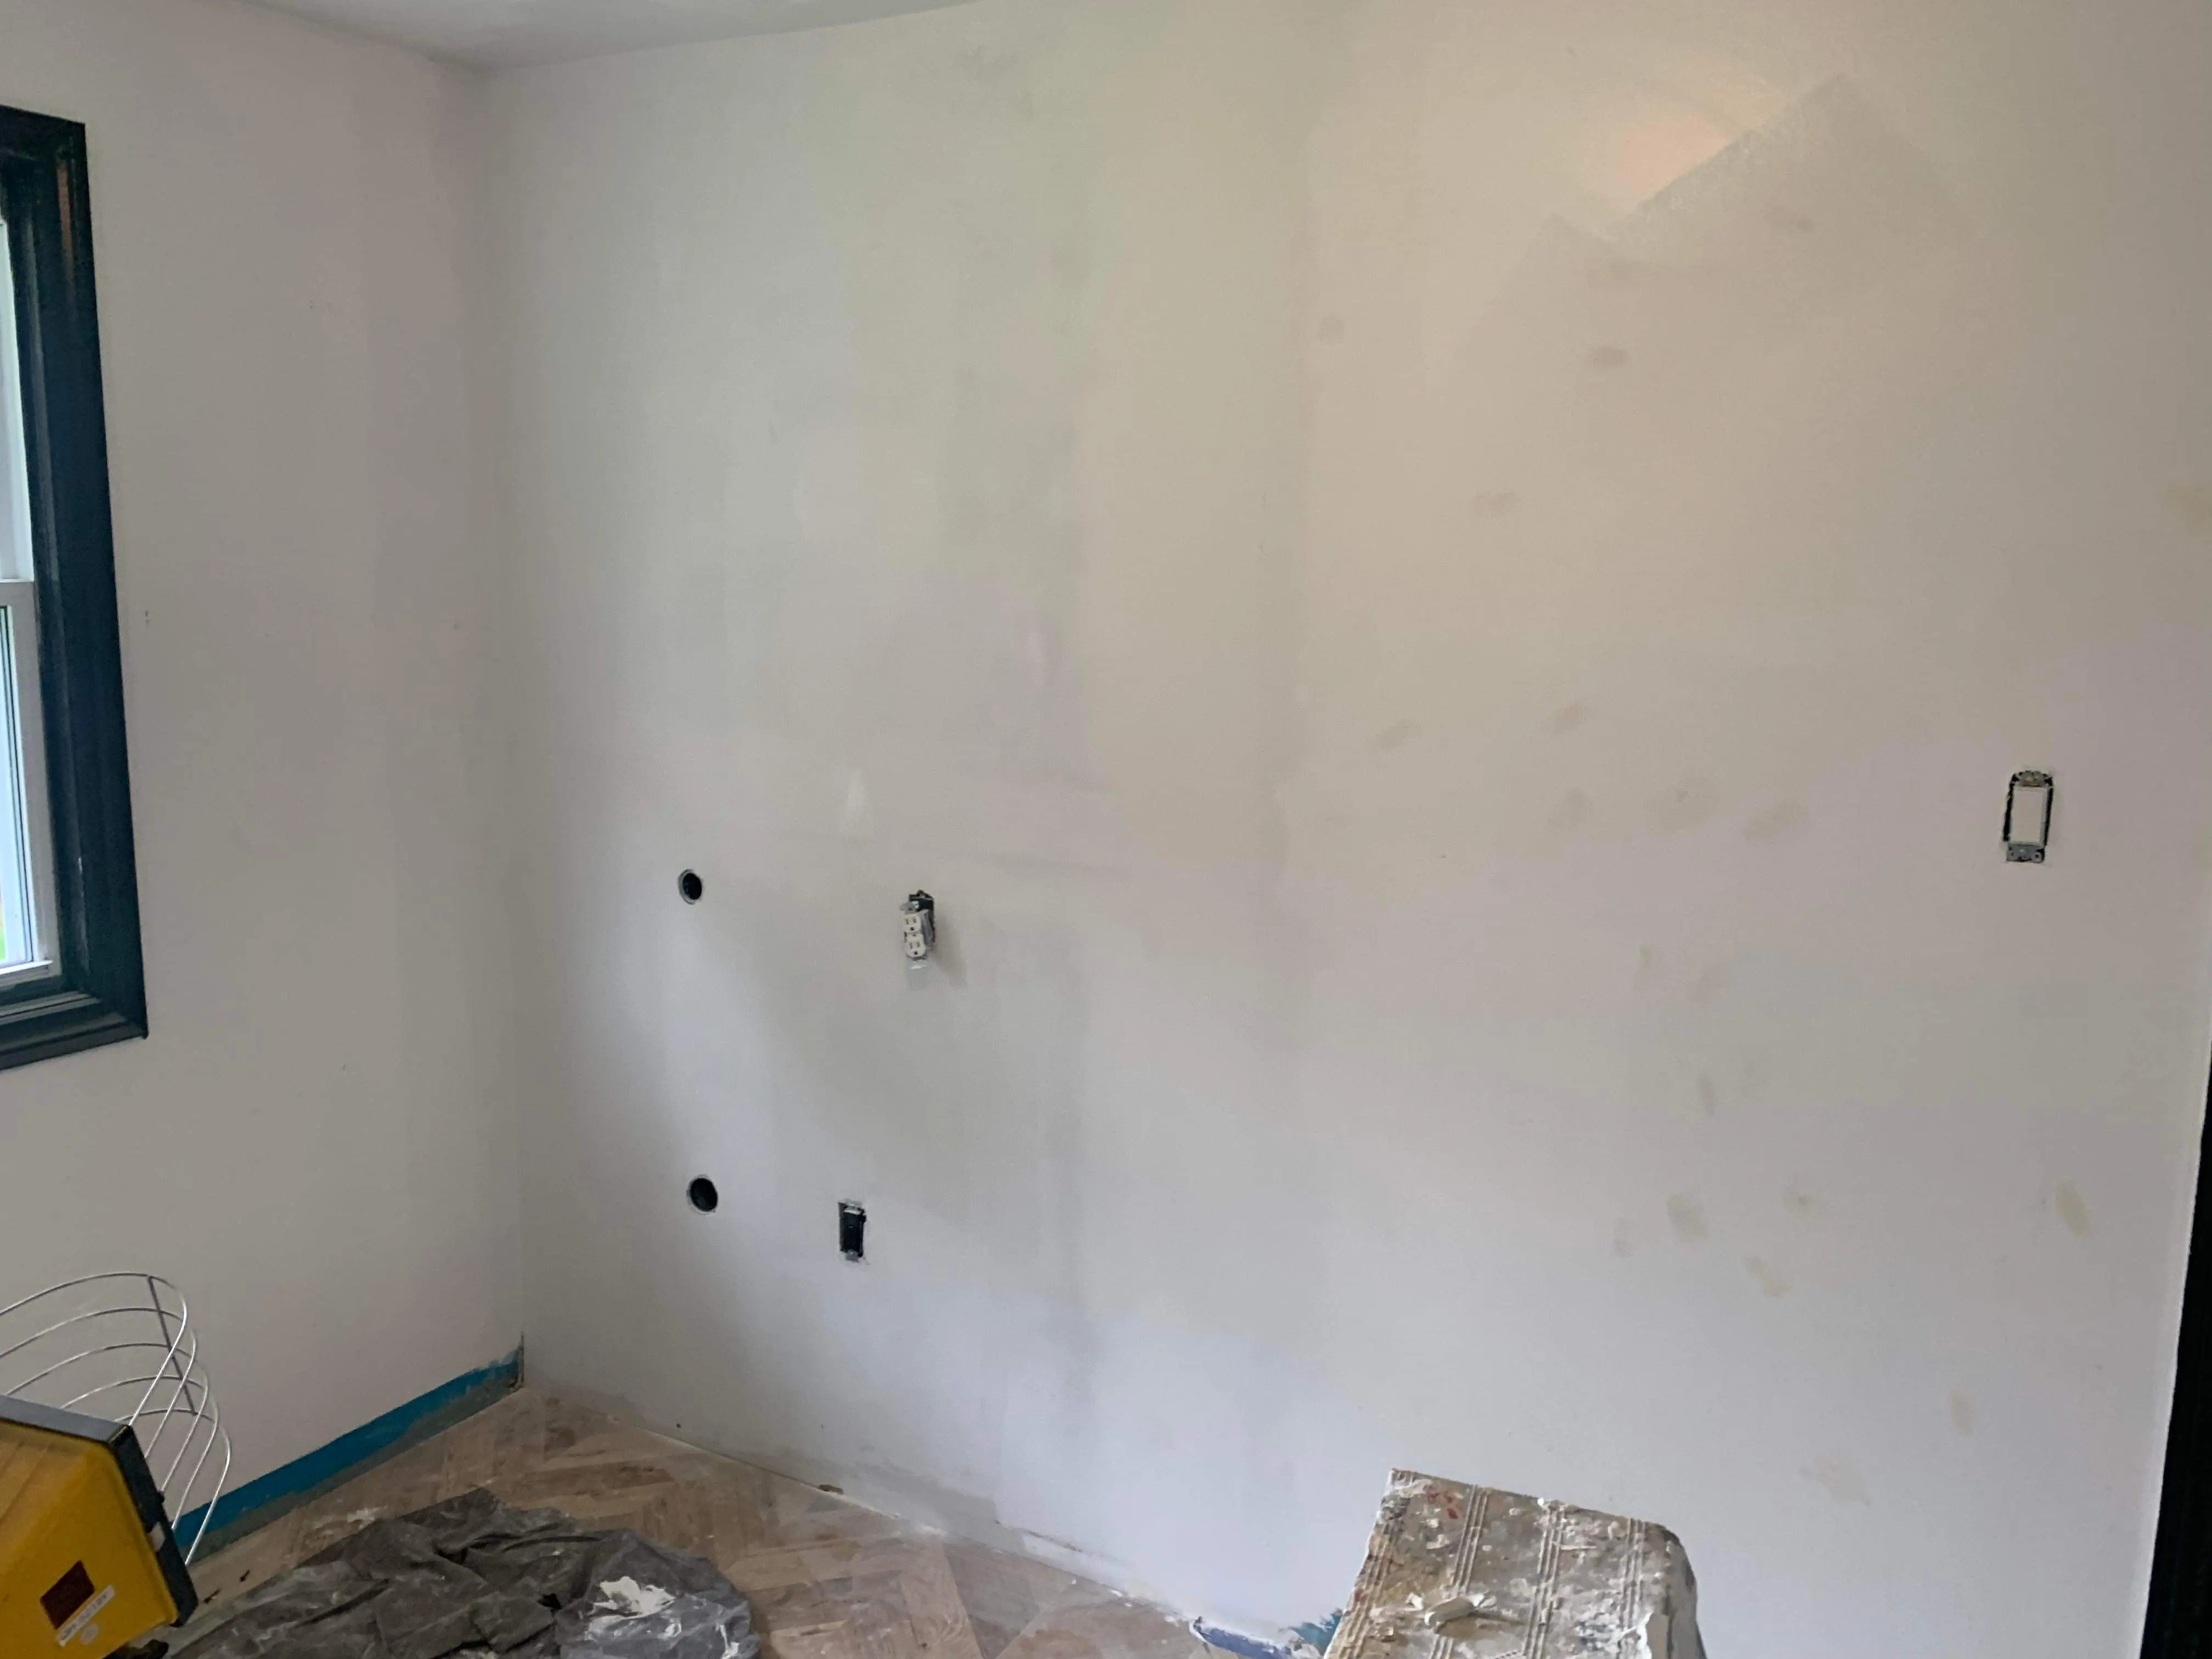
The result after coat number 5 and a coat of primer. Looking much better and ready for paint!
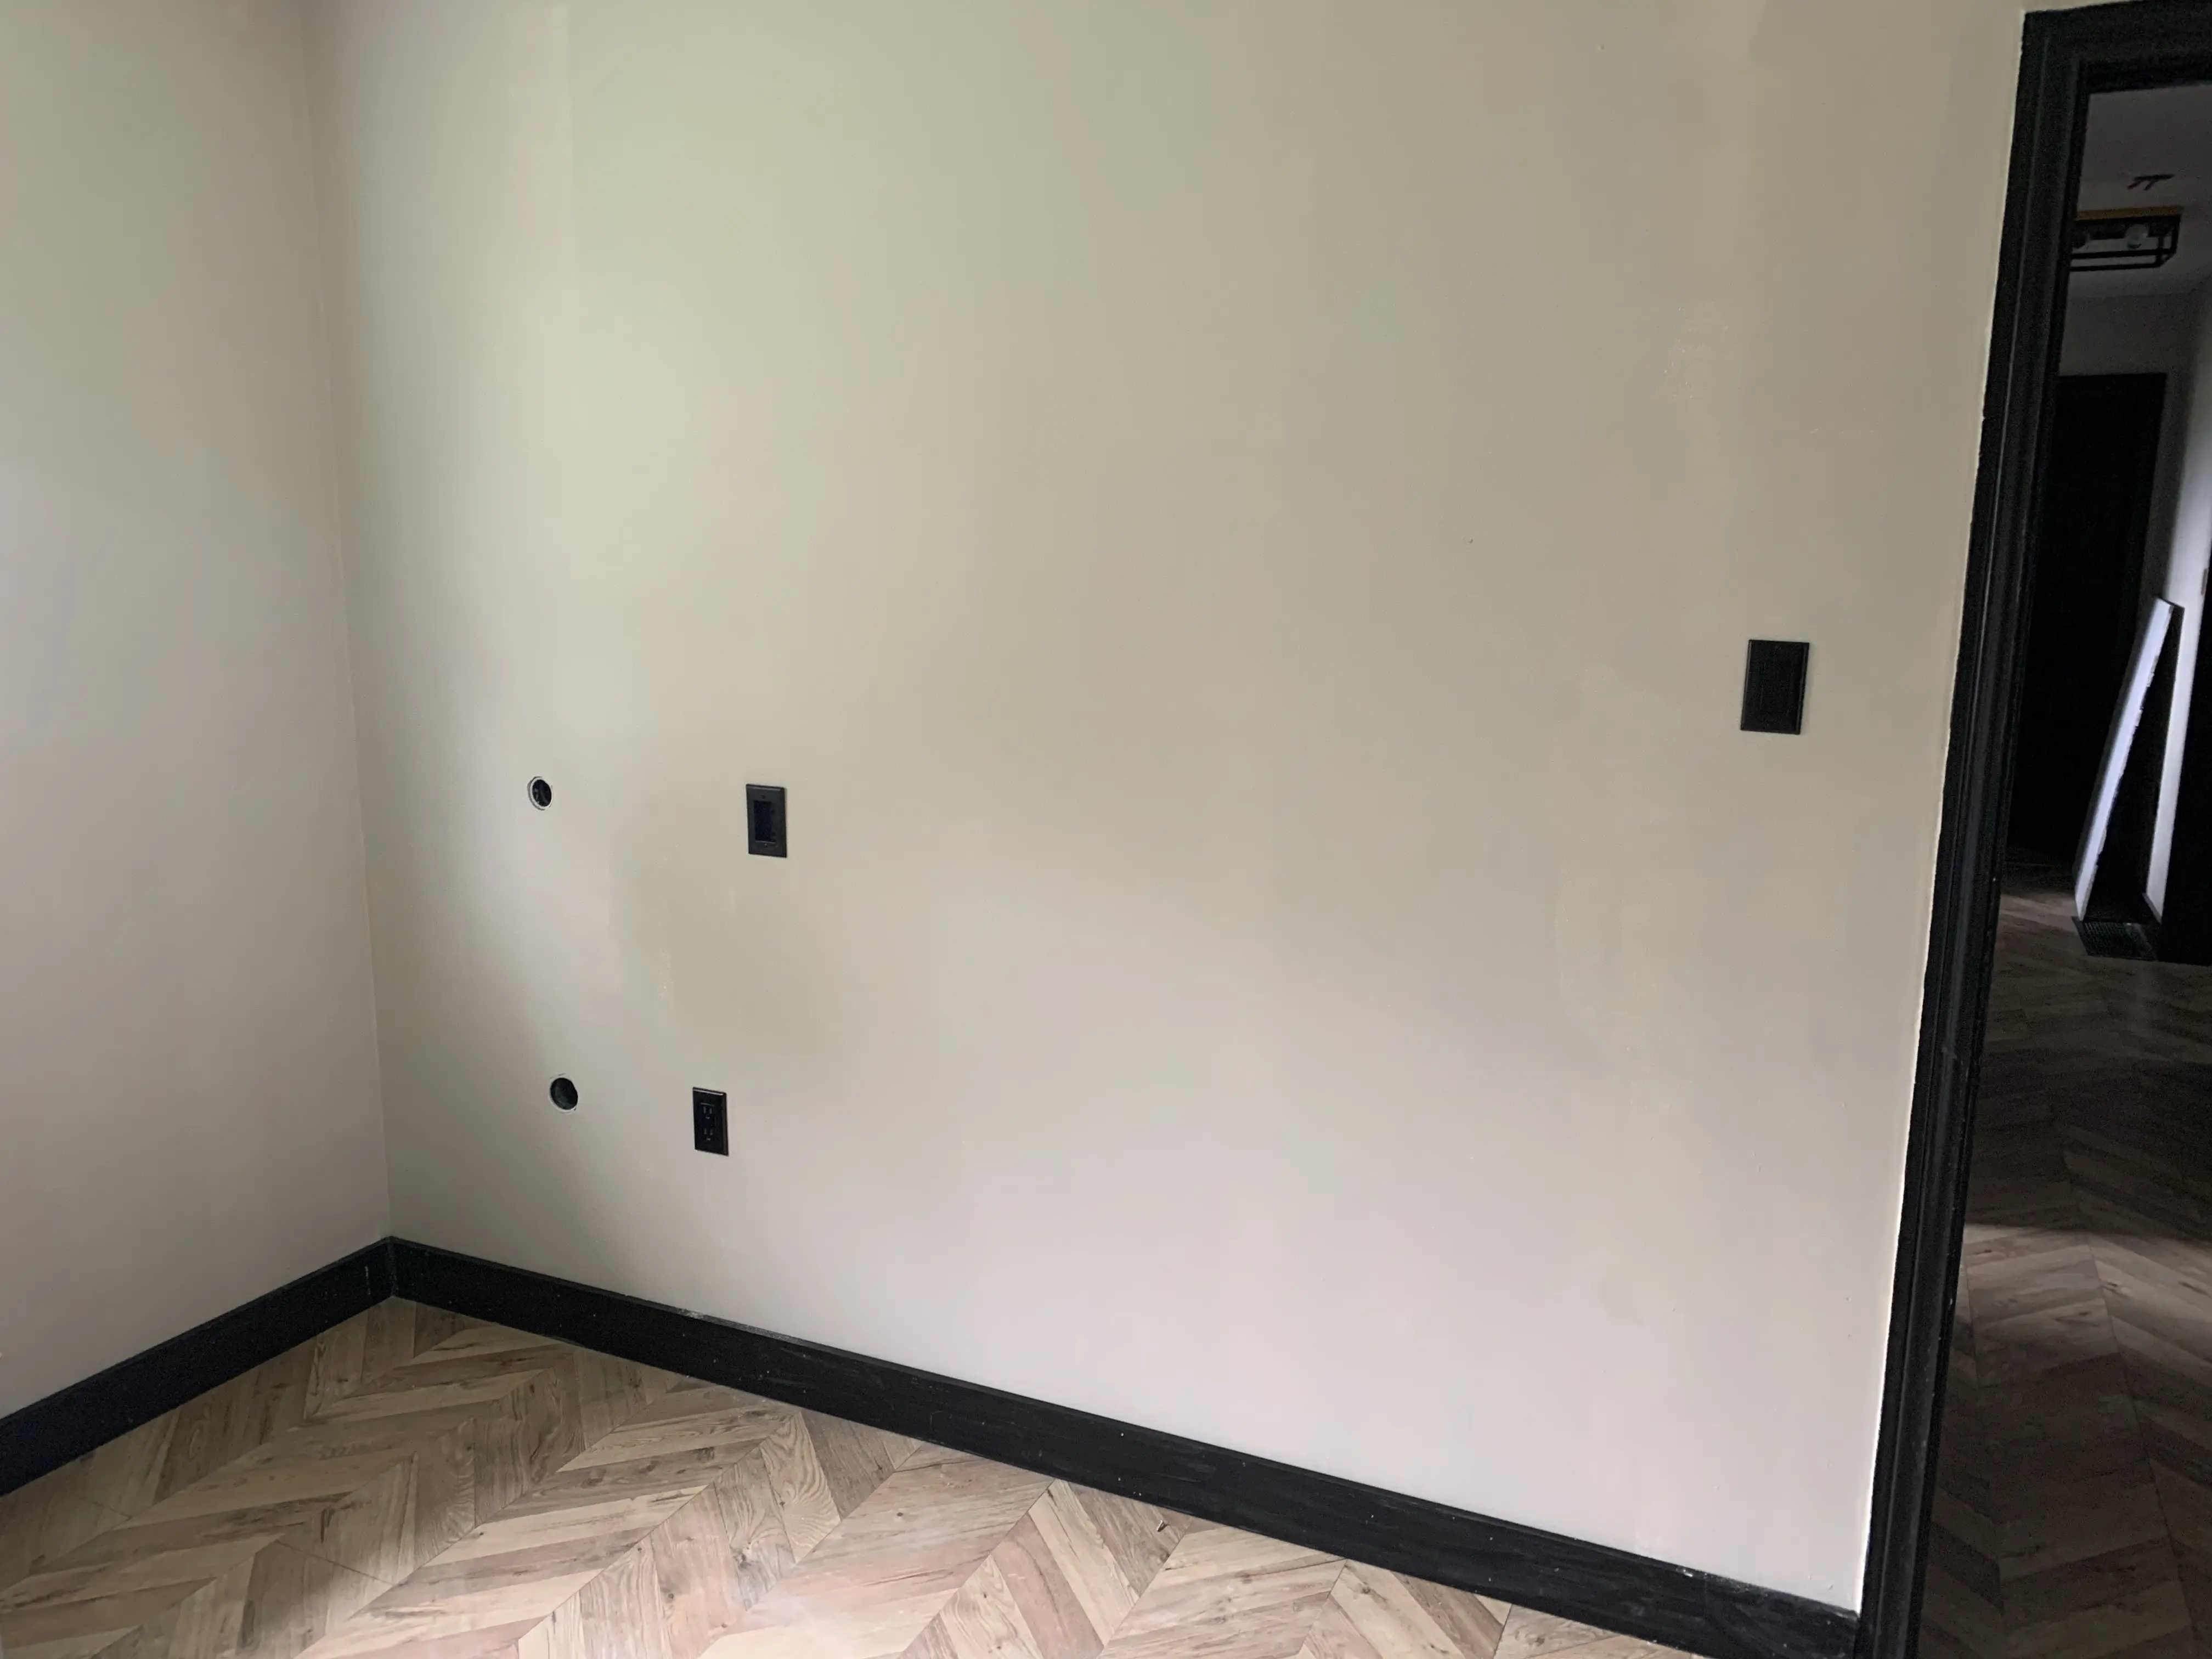
After adding paint you can hardly even tell that there was ever a hole there.
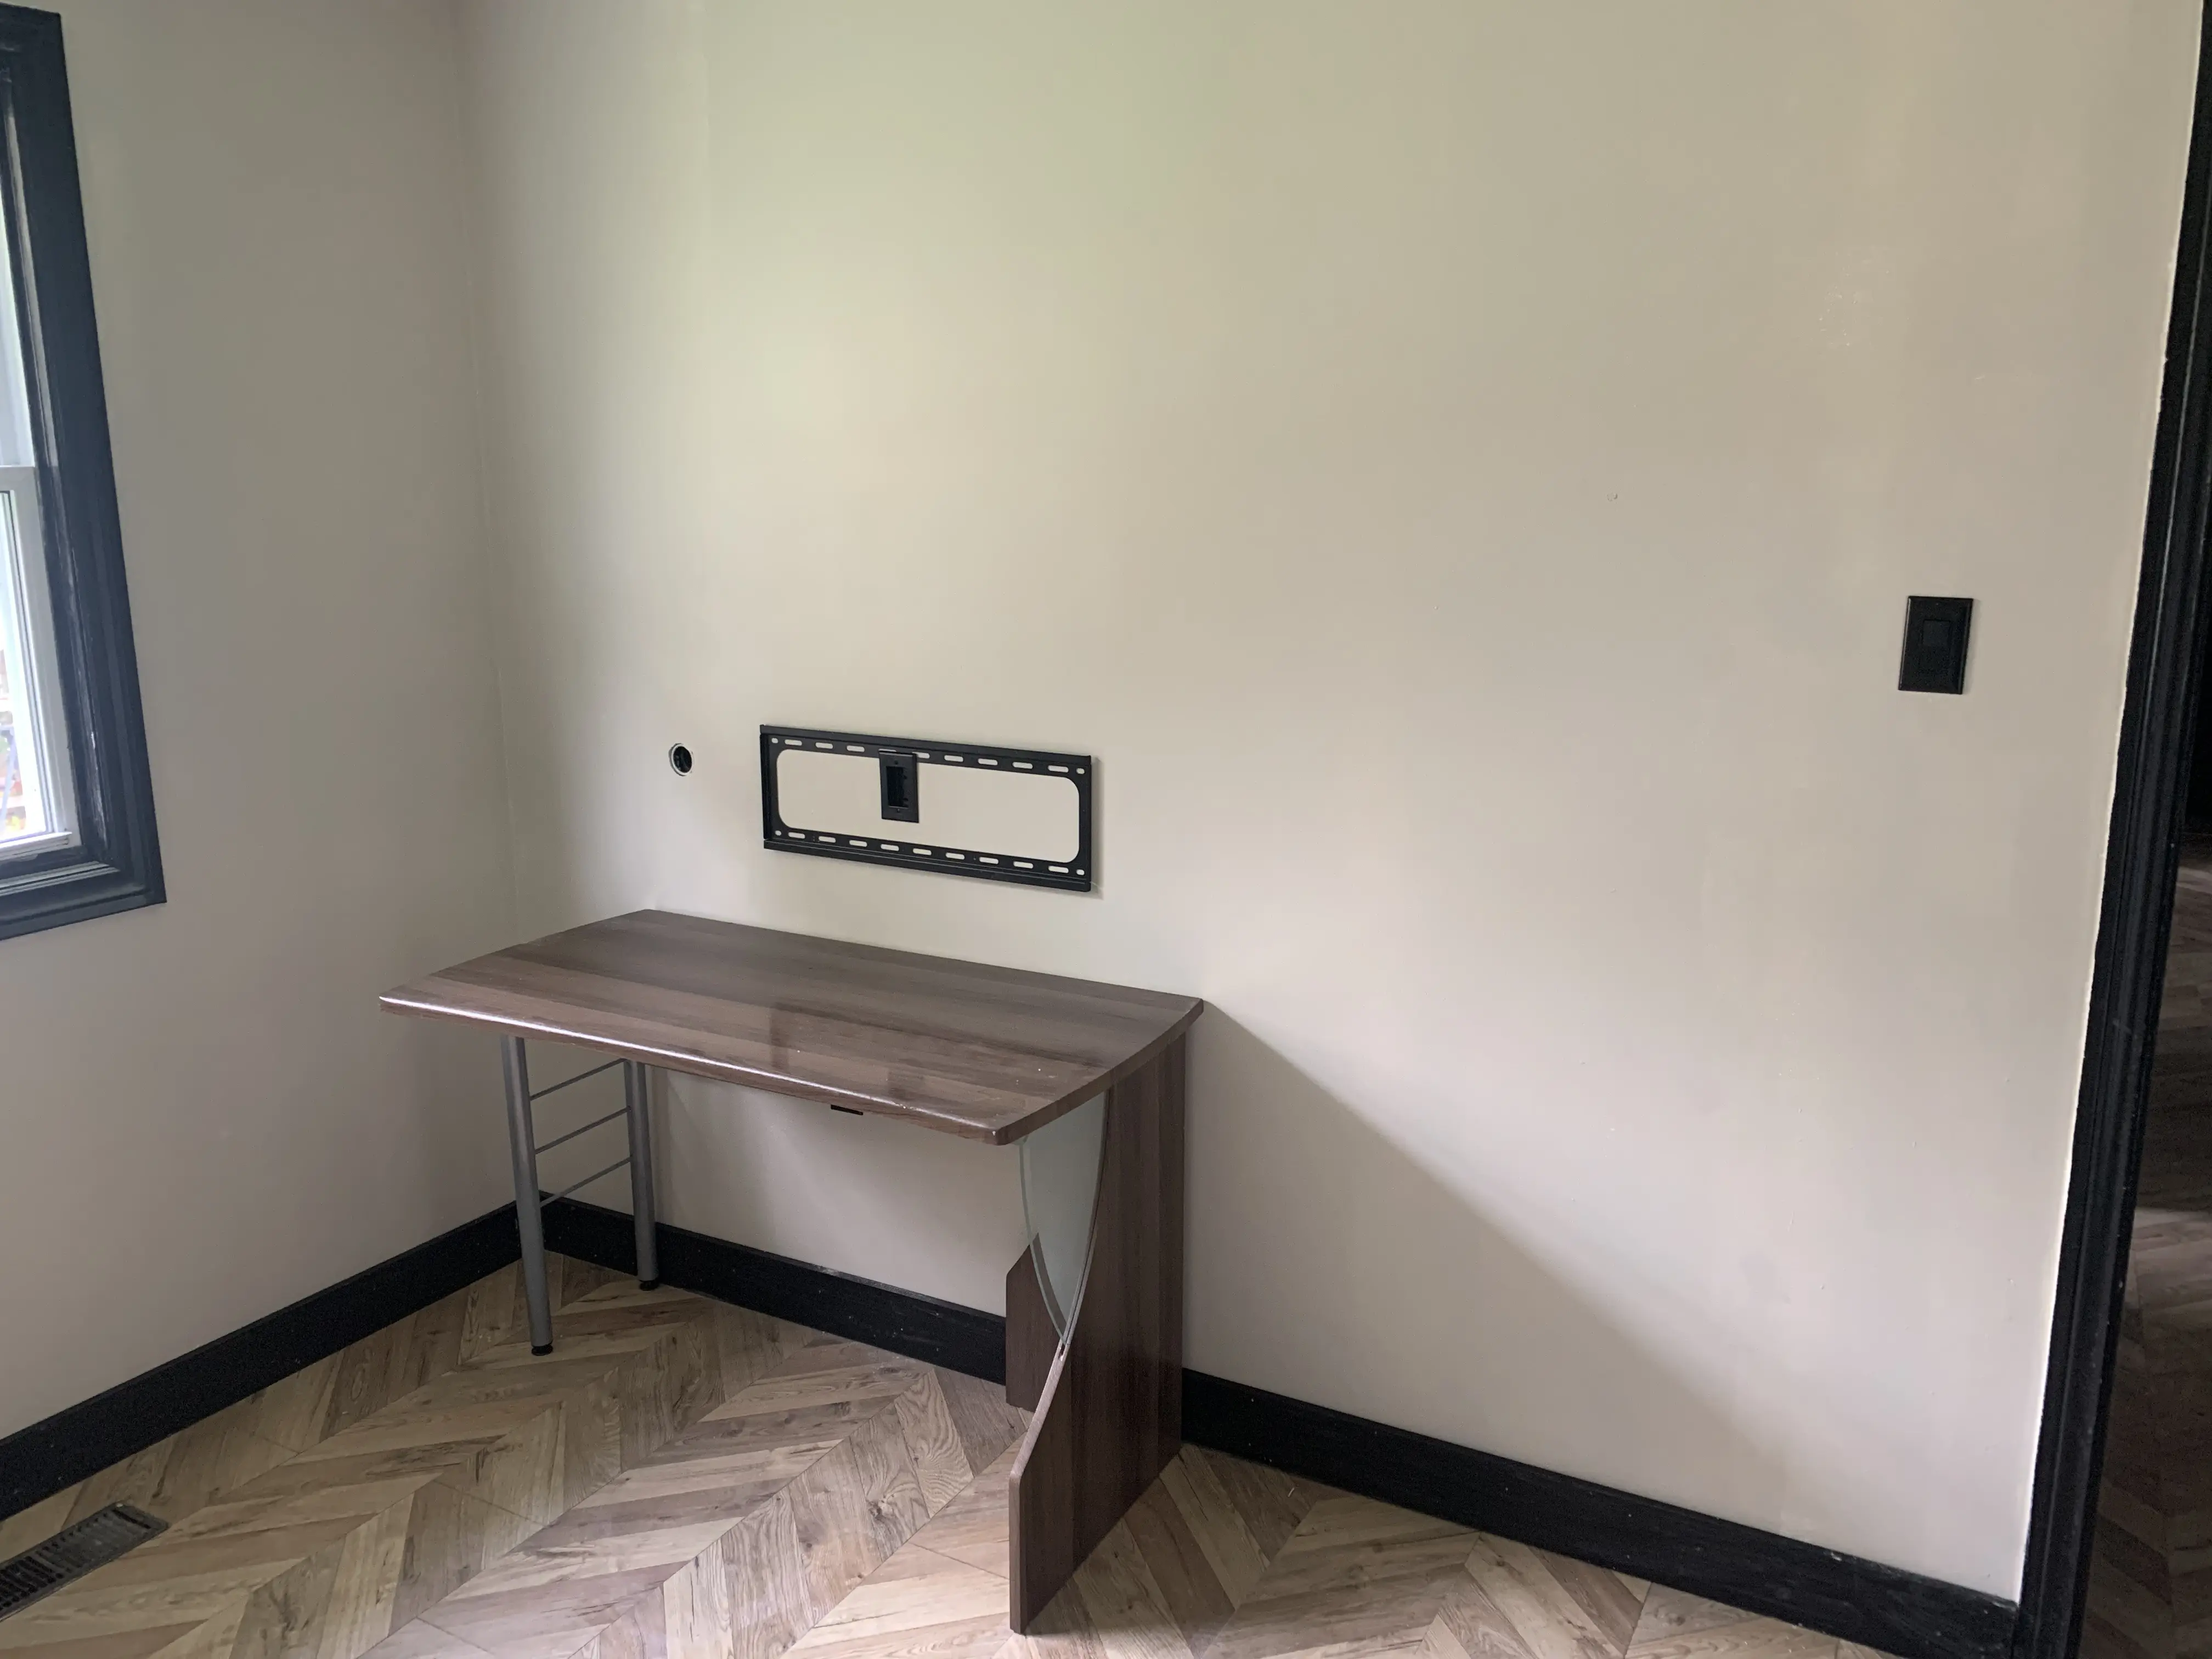
Test fitting the monitor mount to find the correct height from the desk.
The wall is now repaired and its time to mount the monitor on the wall. I think I forgot to mention, but the monitor is an LG C1 48 inch OLED display. I've been using it as a main monitor for a few years now and really should make a blog post about it.
The long and short of it is that if you are using Windows, it's awesome. If you are using a Mac, it's not great and I wouldn't recommend it. The picture quality when using this monitor with a mac is abysmal. It looks like someone smeared vaseline all over the screen, even at 4k resolution.
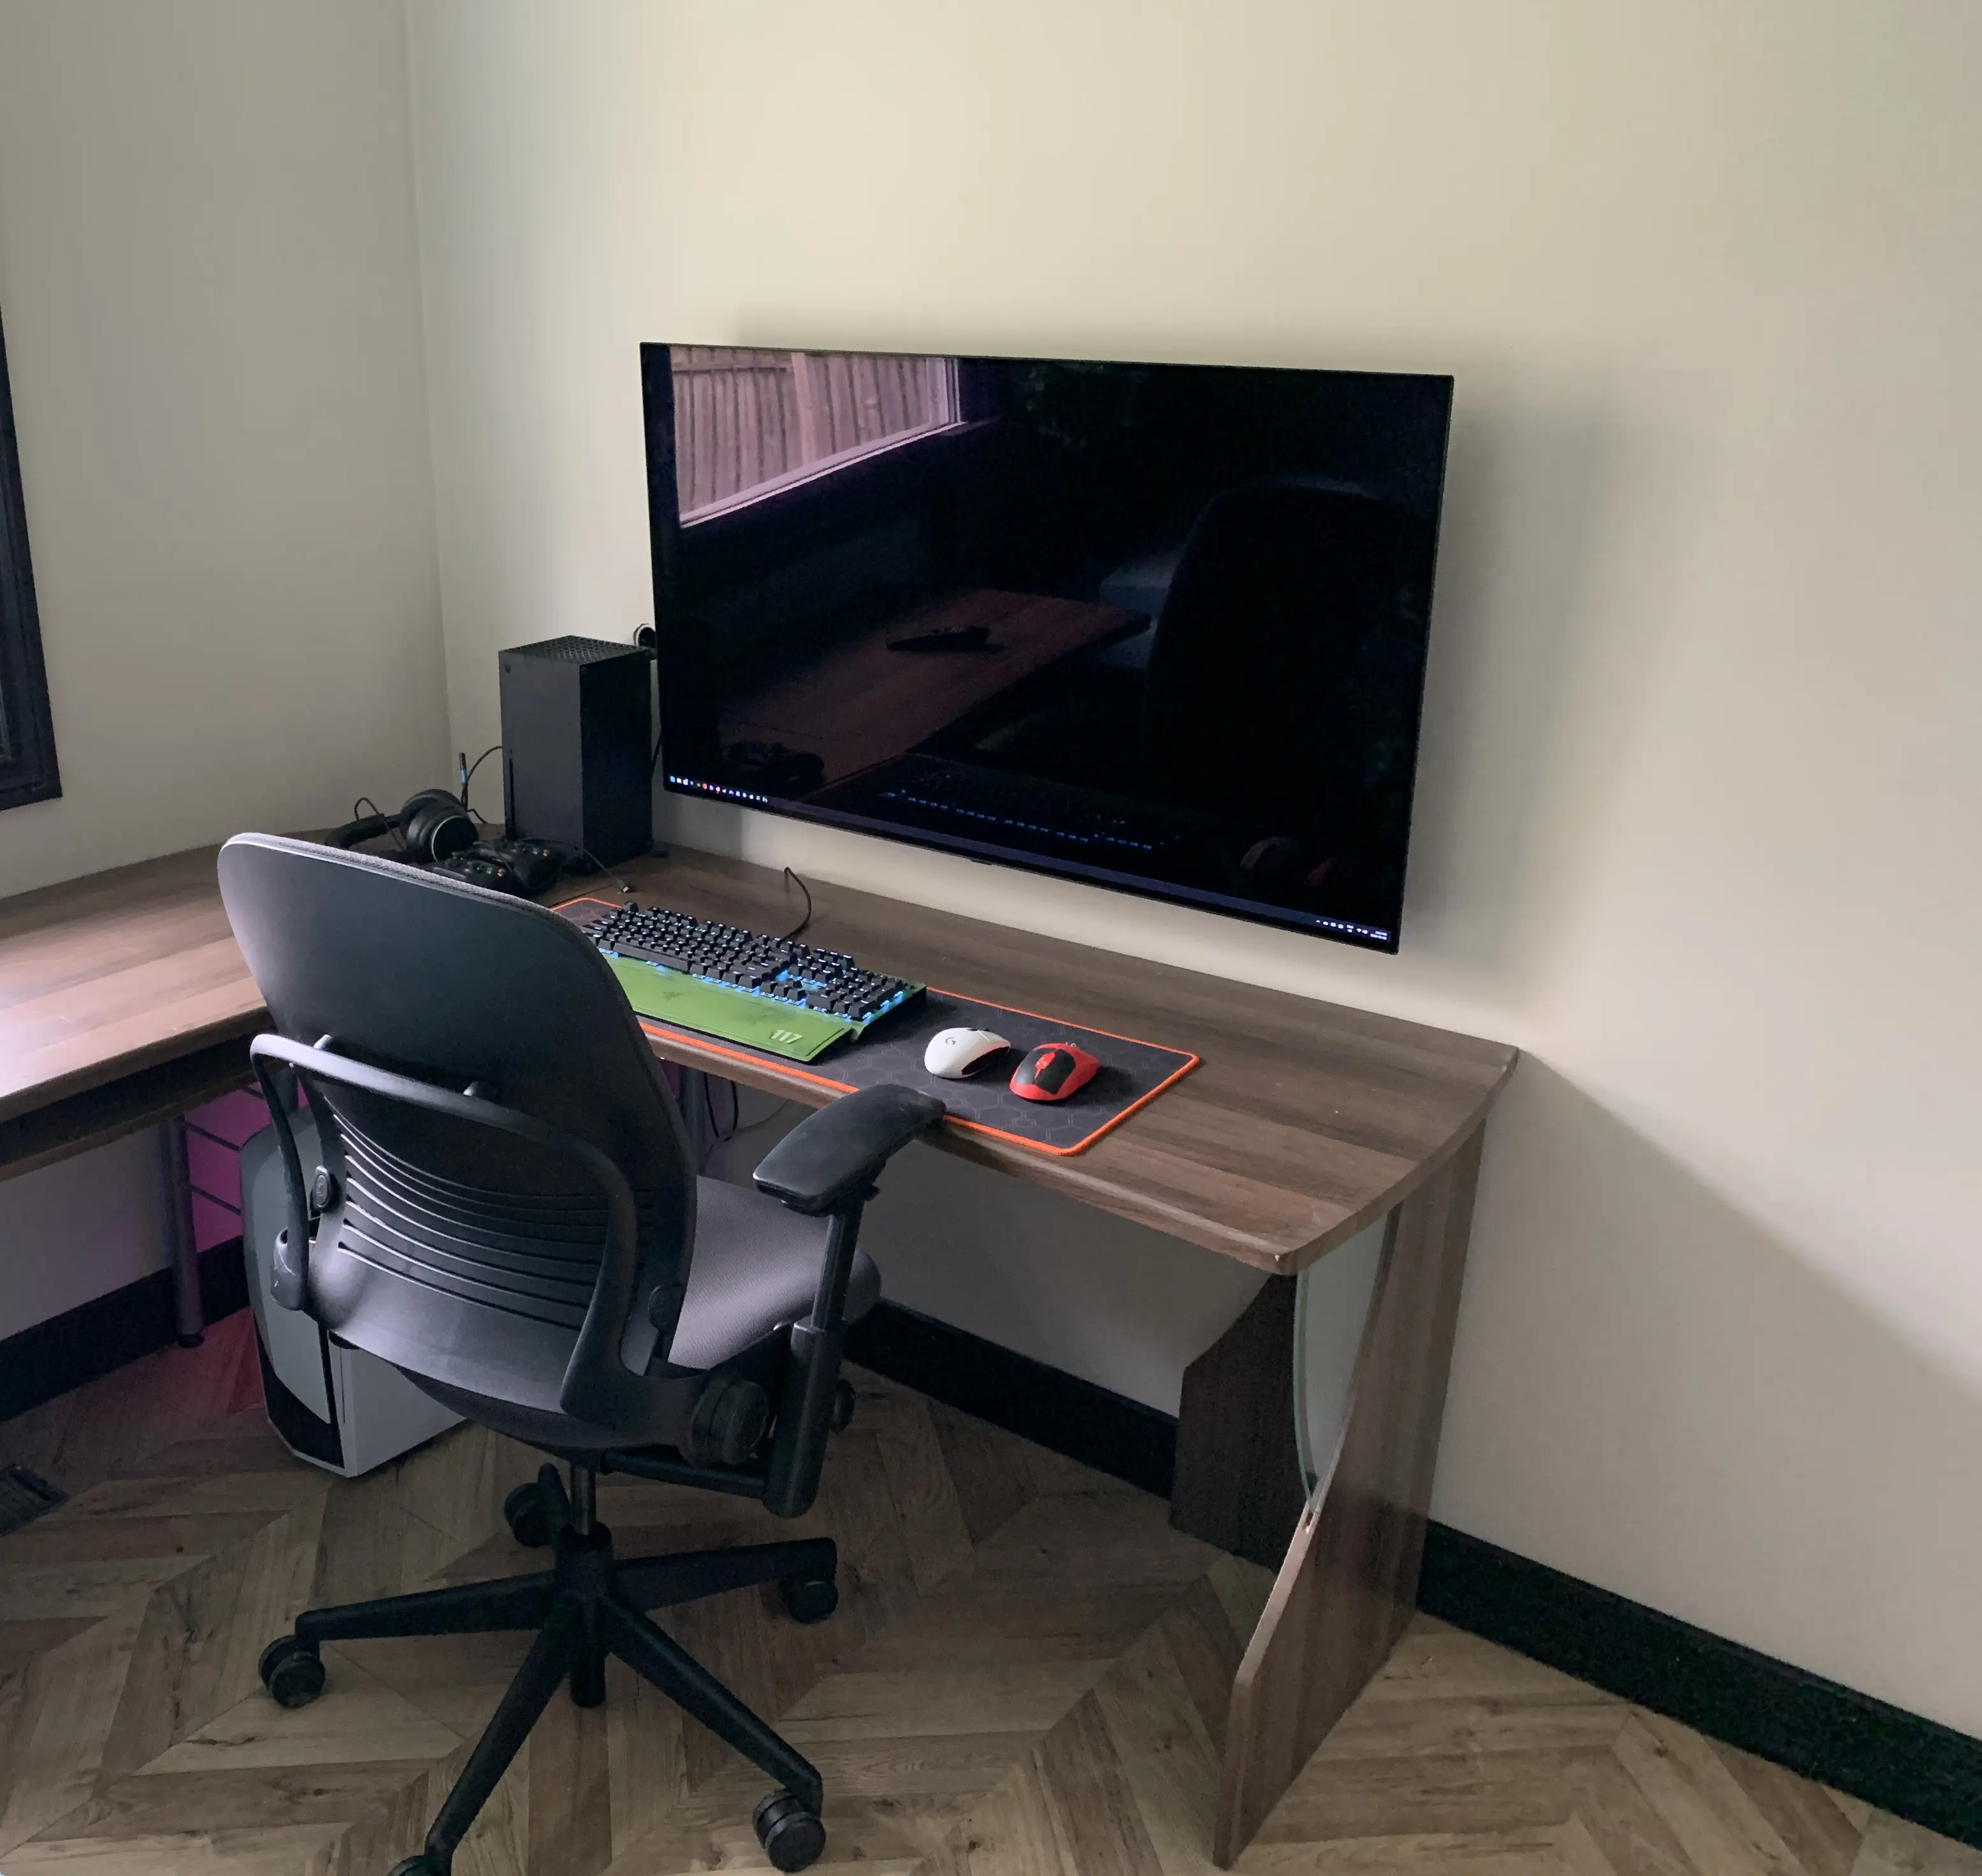
Testing the new setup. The conduit hole didn't quite get covered by the monitor, but that's fine. It will look normal once I put a cover over it
Now that I have everything working great, the next step is to move the PC down to the basement. I already have a wall rated HDMI cable that is more than long enough to use, but I will need to purchase some sort of USB extender in order to use my keyboard and mouse.
Like all projects, this will have to be completed another day!